Being one of the best and most versatile video editing software out there, it’s perfectly understandable that you want to learn how to use Adobe Premiere Pro. You need to start somewhere, and this tutorial will be exactly what you need!
Let’s go ahead and discuss every aspect of it.
How to create a new Sequence/Timeline
The first thing we need to look into is the creation of your timeline. After you import everything in Premiere Pro, you will need to start working on your video!
Look here to find the best sequence settings to use for YouTube.
1. Setting the Resolution
The first thing you want to do is make sure that your sequence matches your camera resolution. This means that if you shoot in 3840×2160, the timeline needs to match it perfectly. If, for example, you have footage of different resolutions, such as 1920×1080(HD) and 3840×2160(4K), our advice would be to use the highest resolution.
The reason is that you can export the full 4K video, and get the best out of your footage, or just export in HD as long as your timeline is set to 4K already. If you simply create a timeline in HD, then you won’t be able to export in 4K at all.
2. Setting the Frame rate
Before you start working on your video, you need to make sure that your footage frame rate matches your project settings. If it doesn’t, you will experience some issues with jumpy footage. This being said, if your camera shoots at 29.97fps, you should set your project at 29.97fps. They generally work in multiples of the base project framerate.
A common mistake is when people shoot slow motion, which usually runs at about 50-60 fps, and they create a sequence at this framerate, but this won’t bring anything good.
Most videos are usually shot in 24fps, which is the most pleasing framerate for the eyes. If you are shooting a gaming video though, you can use a 50fps, because your audience may be used to it. Therefore we always want to work in a sequence between 23.97 and 30 fps maximum, and nothing higher.
If you do want to shoot slow-motion though, you should know that it is meant to be slowed down in multiples, so the frames are rendered correctly, without jumping. As an example, footage shot at 50fps should be added in a 25fps sequence in order to slow the footage down by 50%. The frames will align in the timeline, as the 50 frames are spread out to 25 frames.
If you want to import slow-motion footage, you need to have it in a real-time sequence of 29.97fps, 30fps(NTSC), 25fps(Pal), or 24fps(Film).
Frame rate multiples that work together
Use 29.97fps timeline/sequence when recording – 29.97, 59.94, 119.88
Use 25fps timeline/sequence when recording – 25, 50, 100, 200
Use 24fps timeline/sequence when recording – 24, 48, 96, 192
Use 23.97fps timeline/sequence when recording – 23.97, 47.94, 95.88
Mixing framerates in 1 sequence is not good practice
Mixing different framerates together is possible, but if you don’t do it right, it can cause jumpy looking footage. In order to do it right, you will need to use a standard 25fps timeline, and tell the software to interpret the 30fps footage as a 25fps clip. This will stretch the frames a little, so they align to the 25fps sequence, but it will also slow down or speed up your clip a little.
To fix mixed frame rates by changing the clip’s frame rate, you should do the following steps:
- Find your footage in the “Project Panel”.
- Right-click on the clip and go to “Modify” and then “Interpret Footage”.
- Choose the “assume this framerate” button and enter your desired number.
How to import clips into Premiere Pro
There are 2 ways to import clips into Premiere Pro:
- Drag and drop the videos into the project or timeline
- Go to “File” and choose the “Import” button. You can also use “Ctrl-I” as a shortcut for it.
How to cut clips in Premiere Pro
From the Project panel
You can cut clips in Premiere Pro by dragging them from the Project panel, over to the Source panel. There, you can use the “I” and “O” keys to cut the selection, and then you can drag and drop the video into the timeline.
Split clips in the timeline
Additionally, you can cut clips directly from your timeline. Simply press “C” on the keyboard to select the Razor tool and then cut the clip in your timeline. You see more in our detailed guide to split clips in Premiere Pro here.
How to add text in Premiere Pro
You can simply add text in Premiere Pro by using the “Type Tool” and adding the text to your video.
From the “Effects Control” panel you can change its position, scale, and opacity, as well as its key points in order to make the text appear and disappear when you want it to.
- Simply press the “T” icon
- Click and drag a text box on your video preview
- Type your text
- Adjust the text properties in the “Effects Controls“
You can also learn how to add more fancy text in the graphics templates section.
How to add an Adjustment Layer in Premiere Pro
- Click the “New item” button.
- Choose “Adjustment Layer” and then click the OK button.
- The Adjustment Layer will be placed and selected in your project panel. Click and drag it to your timeline.
How to export a video in Premiere Pro
Exporting in Premiere Pro is pretty straightforward. The below is based on the new version of Premiere Pro, so make sure your software is updated.
- Set the in point and out point of the video you want to export in the timeline. This will only export the video within the set in and out points. Keyboard shortcuts are “I” for “in” or “O” for “out”.
- Click on “Export” in the top-left of your screen
- Adjust your export settings
- Click the “Export” button
If you want to see a more detailed guide on how to do it with the old and new versions of Premiere Pro, and using Adobe Media Encoder.

If you are exporting for social media, then you want to choose the H.264 format, which will export a .MP4 file. If you need a better format, for broadcast or editing, you should choose the QuickTime ProRes option.
All you need to do next is either queue for export using the Media Encoder, or Export directly from Premiere Pro.
How to undo
To undo a change is quite simple, but maybe you want to go back on your history of changes? You can with Premiere Pro, check this “undo in Premiere Pro” guide to find out how.
How to change the aspect ratio
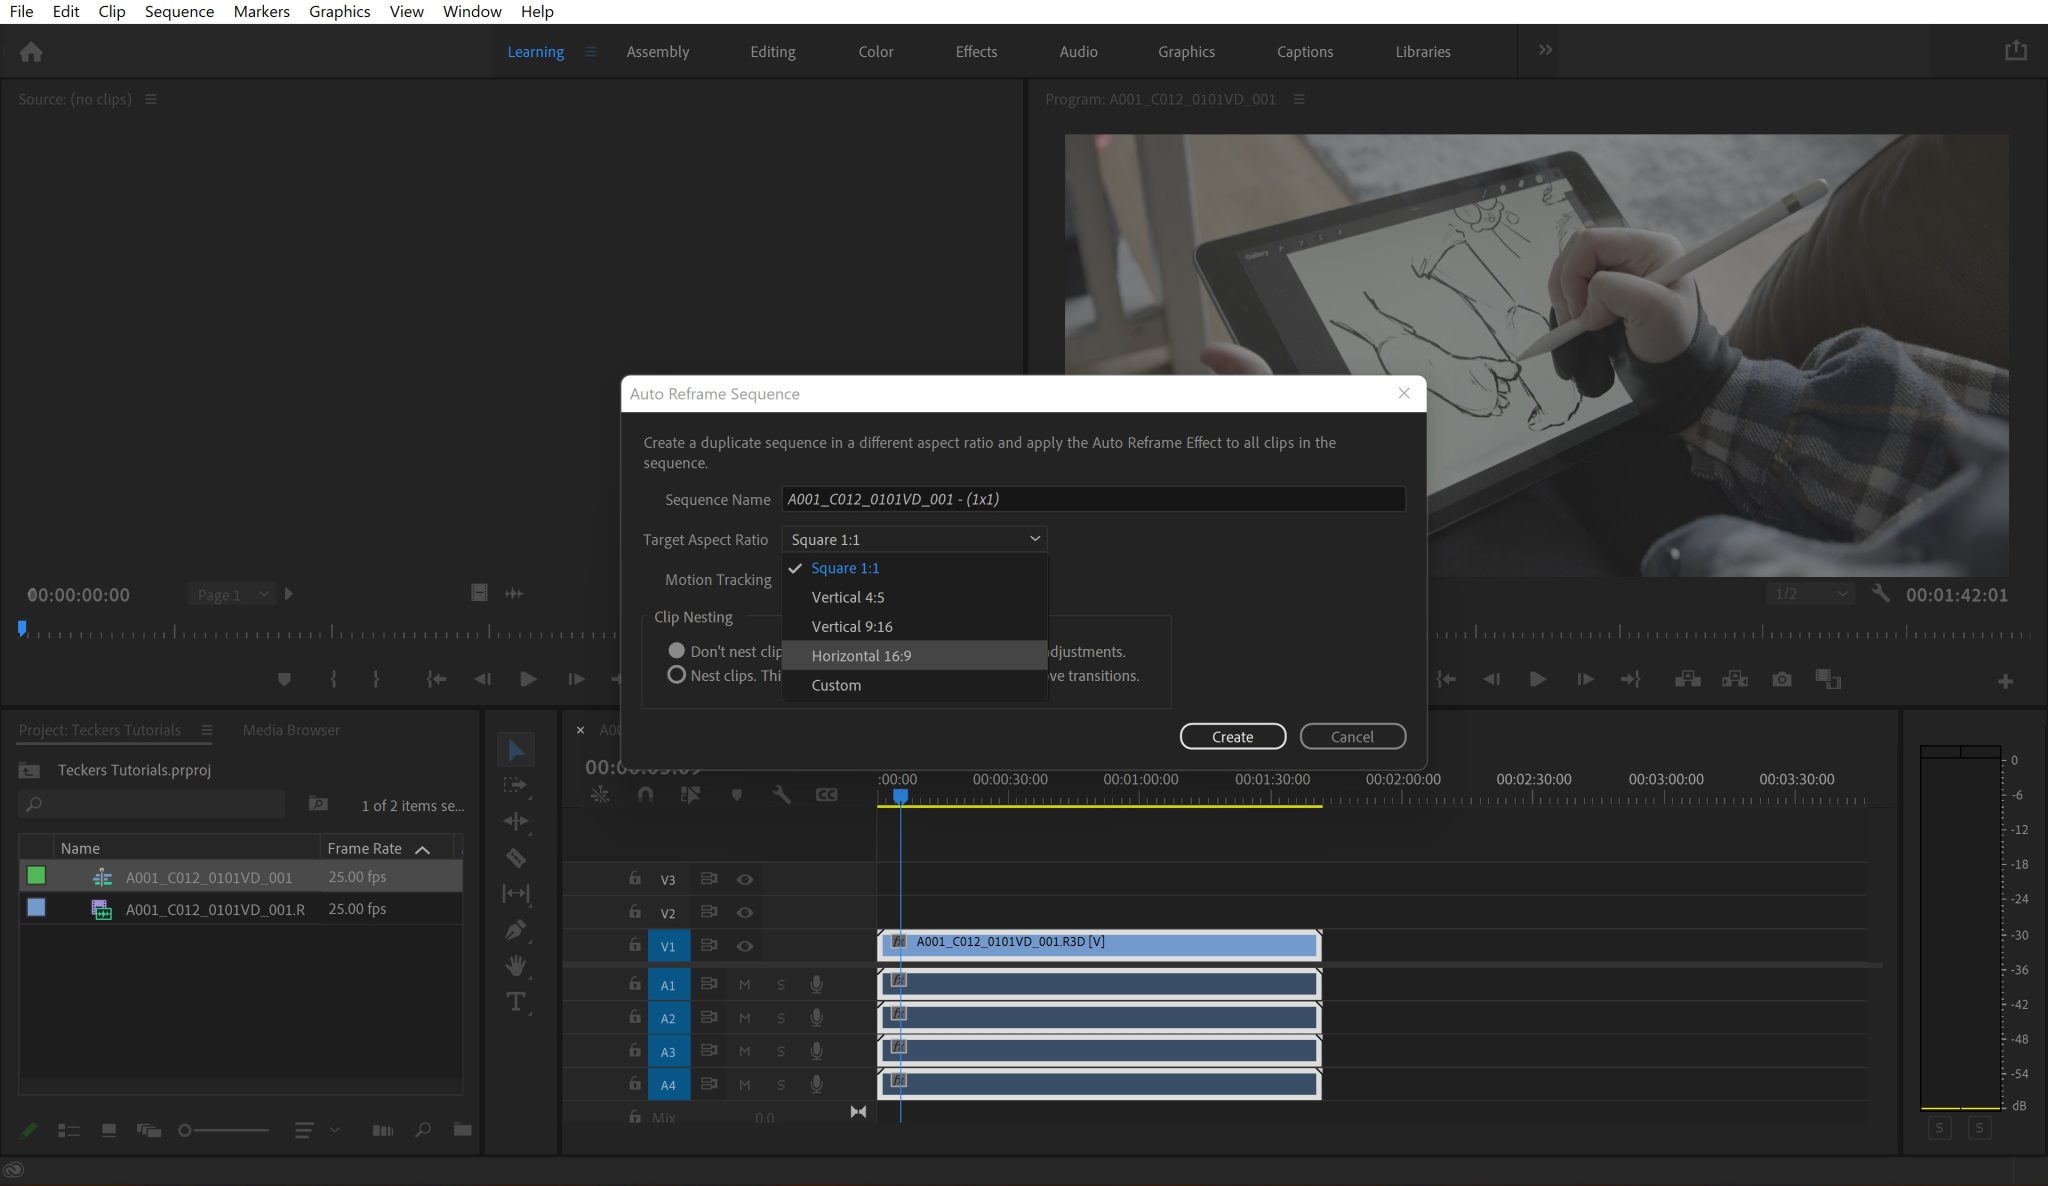
If you’re looking to change the ratio of your sequence you will need to navigate to your Sequence Settings and change the Resolution. You can learn how to change the aspect ratio in this guide.
If you want to calculate your aspect ratio with the resolution, you can calculate it here.
How to set a marker in your timeline
You can set a marker in your timeline by:
- Move your play marker to the place you want the marker
- Press “M” on the keyboard
- You can then double-click the marker to open its properties or delete it.
How to set a chapter marker or note on the timeline
It’s very similar to setting a normal marker, but you need to add more properties.
- Right-click on your timeline time ruler
- Click “Add chapter marker“
- Type a name or note
- Make sure you add a time duration
- Click OK.
How to link and unlink clips in Premiere Pro
- Simply right-click on your clip
- Click “Link” or “Unlink“
How to move a clip position, scale, zoom or rotate
- Select a clip
- Go to the “Effects Controls” panel
- Here you will be able to adjust the properties of the clip
If you’re wanting to learn how to zoom in with motion blur, you can check our detailed guide here.
How to add & use keyframes
Adding keyframes is not so straightforward, so it’s best that you take a look at our guide on how to add keyframes in Premiere Pro.
How to change the audio gain
- Right-click on your audio clip
- Click on “Audio gain“
- Adjust the decibels amount
How to find your timeline clips in “Finder” or “Explorer”
- Right-click on your clip
- Select “Reveal in Finder” on Mac, or “Reveal in Explorer” on Windows
How to reveal timeline clips in the Project Panel
- Right-click on your clip
- Select “Reveal in Project” on Mac, or “Reveal in Project” on Windows
How to change the opacity in Premiere Pro
- Select your clip
- Go to the “Effects Controls” panel
- Open up the “Opacity” tab
- Change your Opacity value
How to add Blur in Premiere Pro
- Go to the “Effects” panel
- Search “Blur“
- Choose your type of Blur
- Drag & drop it onto your clip
- Adjust the Blur value
How to change the speed of a clip in Premiere Pro
- Right-click on your clip
- Click on “Speed/Duration“
- Adjust the speed percentage
Feel free to see a more detailed guide on changing the speed of clips in Premiere Pro here.
How to fade in and out clips in Premiere Pro
- Go to the “Effects” panel
- Search for “Cross dissolve“
- Drag and drop the effect onto the ends of your clip
Learn more professional techniques in Premiere Pro
How to automatically backup projects to Creative Cloud
Please take a look at our detailed guide to backup projects automatically in Creative Cloud.
How to use Multi-camera in Premiere Pro
We have created an extensive guide on using multi-camera here.
How to speed ramp in Premiere Pro
Please see our detailed guide on how to speed ramp in Premiere Pro.
How to use LUTs in Premiere Pro
Check our detailed guide with video tutorials on how to use LUTs.
Summary
Of course, this is the basics of how to use Adobe Premiere Pro, but you can also check out more Premiere Pro tutorials our experts have created, and learn everything there is to know about it.


