For YouTube, there is an optimal way to set the software’s sequence, but you need to think ahead of the whole process, from camera and sequence settings to export.
All you need to do is get your sequence settings to follow a set of principles, match your camera’s settings and then Premiere Pro has pre-built export templates that work best with YouTube.
The process is pretty easy, but you don’t typically have to set it manually because you should use your camera settings for the sequence and use Premiere Pro templates for exporting.
If you’re still new to Premiere Pro (and perhaps new to editing videos in general), you might be interested to learn more about what a sequence actually is. The following section provides a nifty little dime tour.
The truth about YouTube settings
I’m going to be honest, there is no “best” sequence setting for YouTube. You just need to match your camera resolution and frame rate. The best settings for YouTube rely upon when you export the video. We will get into that near the bottom of this article.
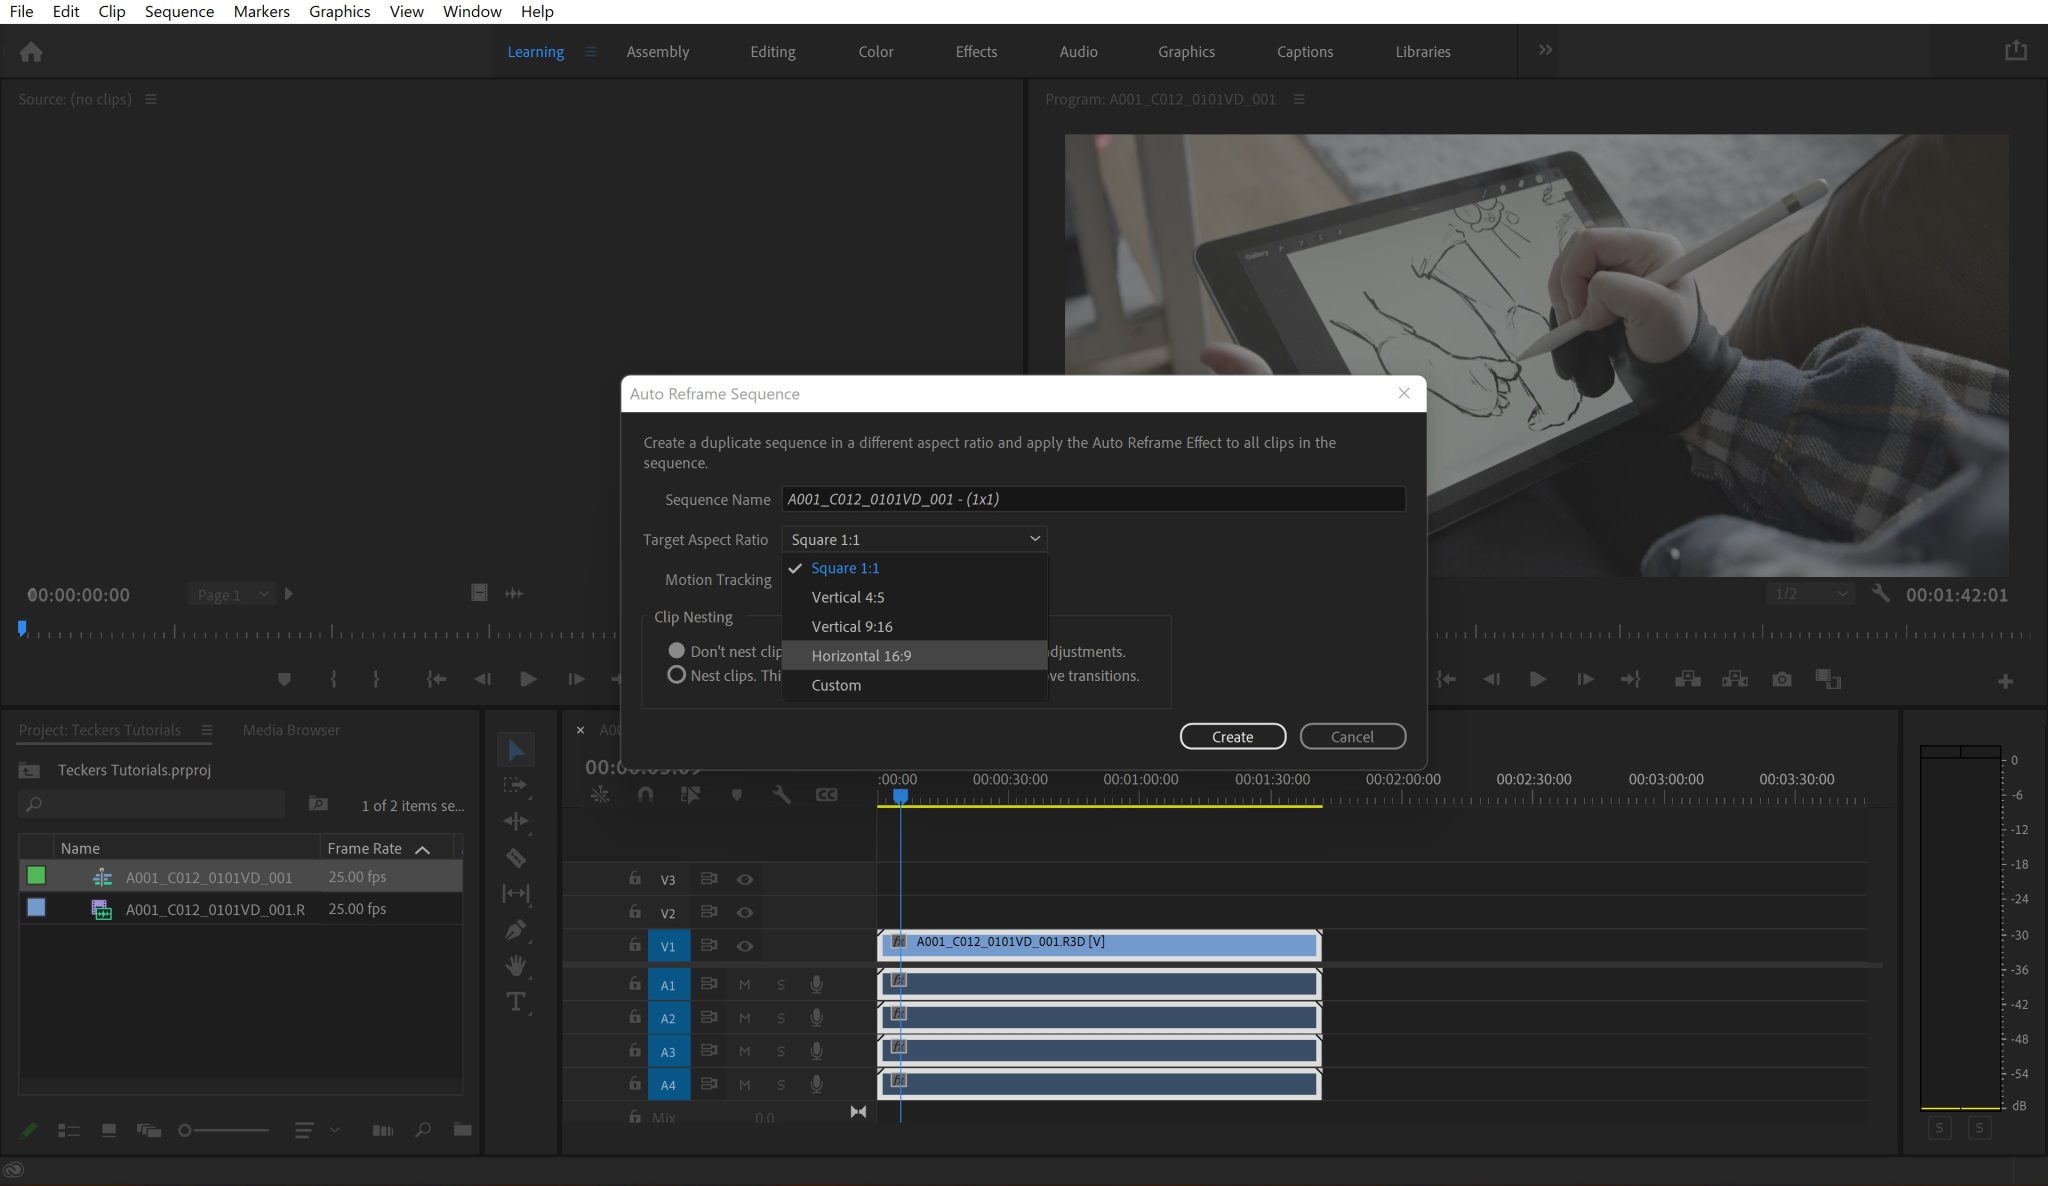
But, you should keep in mind the most favourable settings for your sequence:
- Horizontal for normal YouTube videos
- Portrait for YouTube Shorts
Match your sequence settings with your camera settings!
I can’t stress this enough. If you use a different frame rate multiple to your camera, you will end up with jumpy footage. I see this A LOT on YouTube. Match the same resolution and frame rate multiples to your camera, and you are off to a great start.
For example, if you shot at 60fps, you should use a sequence setting frame rate of 30fps. If you shot in 50fps, you should use 25fps. The rule of thumb is never to use a sequence frame rate higher than 30fps, the only exception is gamers who like higher frame rates.
As long as you match your camera settings, you will be on track to have good sequence settings for YouTube.
I would always recommend using high quality settings (4K if possible) on your camera because it just makes the whole viewing experience better for everyone. Plus – cameras, monitors and TVs are all 4K as standard now. Get with the times 😉
Favourable settings to use for YouTube
Of course, the best videos that work on YouTube are horizontal videos. But all cameras in the world record allow you to record in this, so you don’t need to worry so much. The only thing to keep in mind is to decide whether you are rendering in portrait or landscape.
- Portrait would be good for YouTube Shorts
- Landscape for normal YouTube uploads
You can use any frame rate for YouTube, there is no favourable frame rate. But the usualy world standard frame rates for rendering that is best for the eyes is:
- 23.987fps
- 24fps (used commonly in movies, but you need to record in multiples of this)
- 25fps (commonly used in Europe)
- 30fps (commonly used in USA)
What is a Premiere Pro sequence?
Movie directors often shoot their material out of sequence, meaning they might shoot the middle of the film first, the ending next, and the opening last. During the editing stage, the director lines all the scenes up to tell a cohesive story. This part of editing is known as the sequence.
Your Premiere Pro Sequence is an editable timeline where you will create your video. You can add music, sounds, graphics, transitions, and more in a sequence. And just like movie directors, you can also mix scenes around to tell a story.
A video without editing or an altered sequence is known as a raw video. Some YouTubers feel like this style is more entertaining for their viewers. But for those who like to get their material down to a spit-shine polish, or even add a bit of spice to it, sequencing is a must.
So how do we create a sequence to edit? In Premiere Pro, the process is buttery smooth. And don’t worry, I will provide the instructions step by step.

How to create a sequence in Premiere Pro
You’ve imported your material to Premiere Pro, and now it’s time to start work on the sequence. There are several ways to get the ball rolling, but let’s start with the easiest.
1. Click “File” > “New” > “Sequence”

To create a new sequence, simply go to:
- Click “File” in the menu at the top
- Click “New”
- Click “Sequence”
From here, you can begin optimization.
2. Choose the right sequence settings (match your camera)
You will need to make sure you are using the same resolution and frame rate multiple of the camera that you used. This is very important!
Sneaky tip: A quick way to create a fast sequence with your camera’s settings is to just drag and drop a clip onto the “New item” icon in your “Project panel”.
Important information about frame rate
It’s really important to consider the correct frame rate for your sequence. For example, if you shot a video at 120fps, you should create and export the video at 30fps (25% of the frame rate). If you shot in 50fps, you should have a sequence and export at 25fps. Editing works in multiples.
High frame rates like 50fps, 60fps, or higher are only used for slow motion purposes, so you can slow the video down by 50% or 25% etc.
In the world of editing, nearly all videos are always delivered at a maximum frame rate of 30fps. It’s just better for the eyes and is the world standard.
Only gamers would really want to render is 60fps. This should be the only exception!
Check out our guide on why mixing frame rates is not good.

It’s always best to click the “Settings” tab and make sure that the resolution and frame rate is correct.

Optimize your Premiere Pro sequence for YouTube
Premiere Pro has its own pre-built YouTube export settings. It will take the settings of your sequence. I will list the settings that it usually sets for you, so you don’t need to do anything.
Just go to “Export” your video and click the “YouTube” settings as shown below:

Normal YouTube video
These settings will already be implemented as Premiere Pro reads from your sequence settings. Keep it the same as your sequence settings.
HD (outdated, get with the times)
- Resolution – 1920 x 1080
- Format – MP4 H.264 or Apple Quicktime ProRes
- Frame rate – use your cameras multiple (between 24-30fps)
- Bit rate – Premiere will automatically set this for you. Usually around 11Mbps for HD.

4K (should be standard)
- Resolution – 3840 x 2160
- Format – MP4 H.264 or Apple Quicktime ProRes
- Frame rate – use your cameras multiple (between 24-30fps)
- Bit rate – Premiere will automatically set this for you. Usually around 63.3Mbps for 4K.

YouTube Shorts
These settings should already be implemented as Premiere Pro reads from your sequence settings. Keep it the same as your sequence settings.
HD (standard for phones)
- Resolution – 1080 x 1920
- Format – MP4 H.264
- Frame rate – use your cameras multiple (between 24-30fps)
- Bit rate – Premiere will automatically set this for you. Usually around 11Mbps for HD.
4K (future-proof)
- Resolution – 2160 x 3840
- Format – MP4 H.264
- Frame rate – use your cameras multiple (between 24-30fps)
- Bit rate – Premiere will automatically set this for you. Usually around 63.3Mbps for 4K.
Summary
Premiere Pro’s sequence settings allow for high customization. I hope you now have an understanding of how YouTube works and what are the best sequence settings to use.


